
The Solo Load: How to get a 100lb Fishing Kayak on a Thule Hullavator Pro
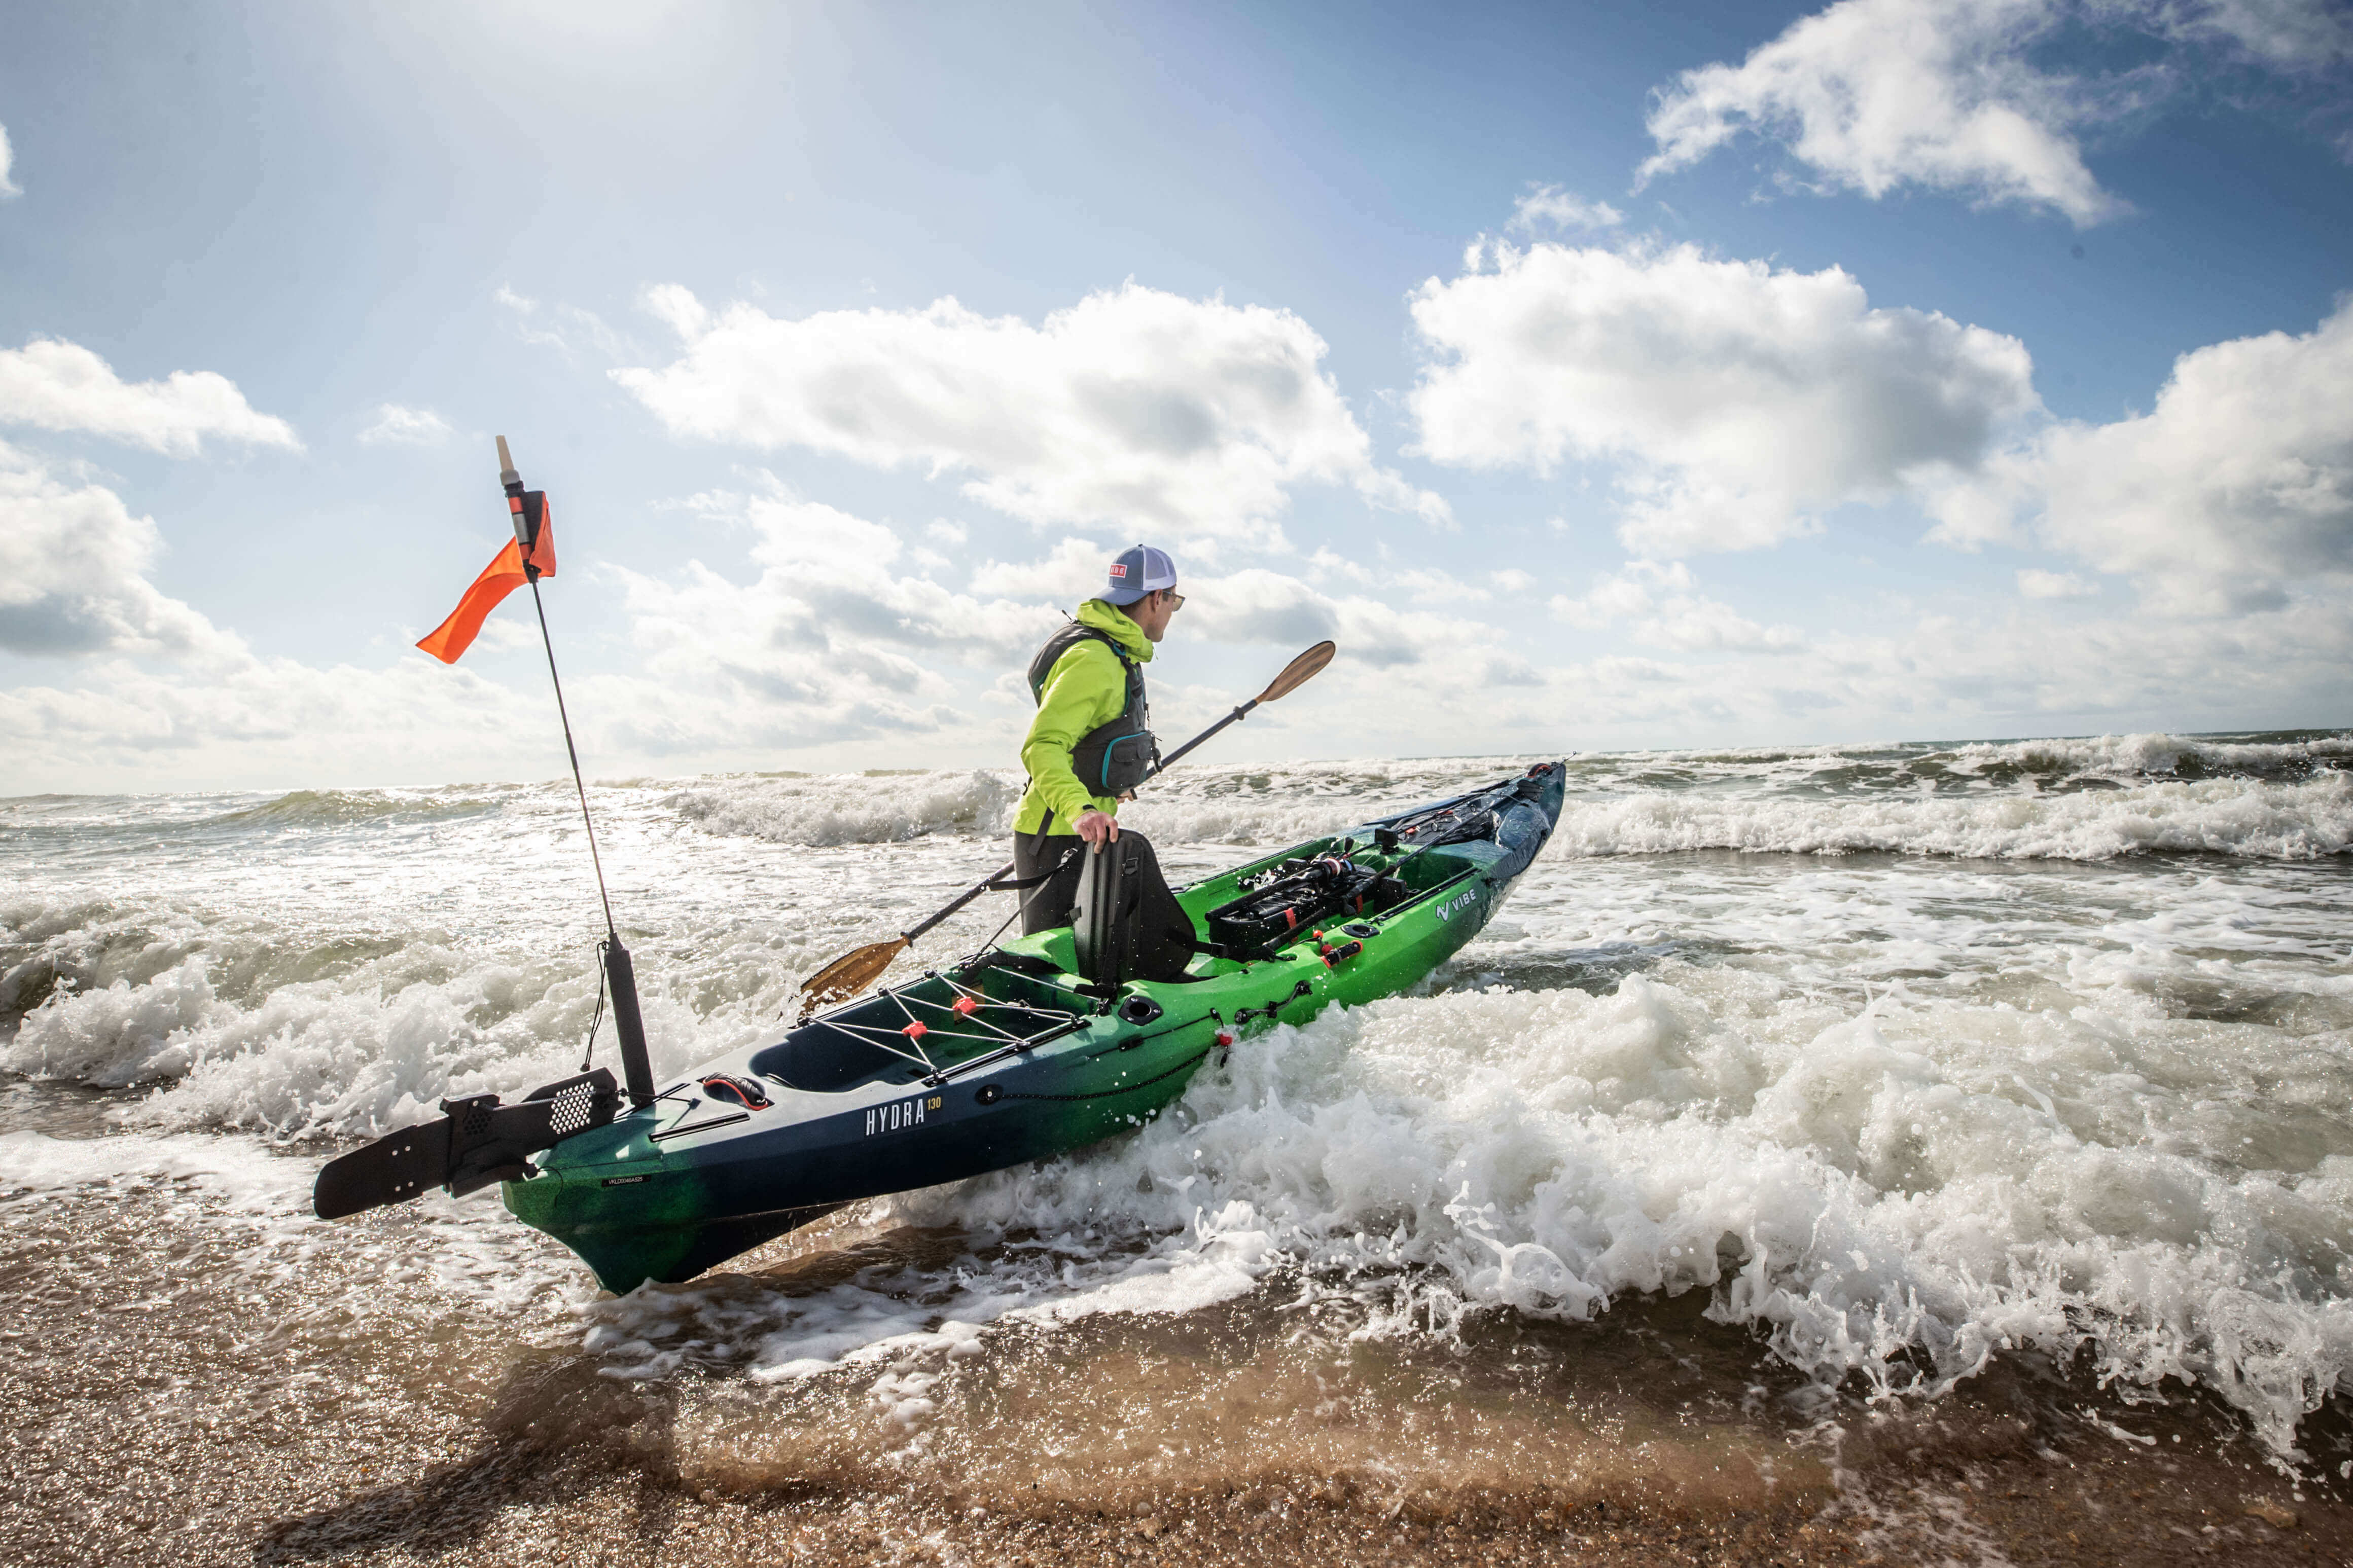
There is a moment of dread that every solo kayak angler knows well. It happens at 5:00 AM in a dark parking lot, or at 6:00 PM when your arms are jelly from paddling all day. It’s that moment when you look at your 12-foot plastic battleship sitting on the ground, then look up at your car’s roof rack, and realize you have to bridge that gap alone.
For the aging demographic of anglers—or frankly, anyone who values the longevity of their rotator cuffs—the modern fishing kayak poses a serious problem. While brands like Hobie, Old Town, and Jackson Kayak are building incredible fishing platforms, they are also building them heavier. A fully rigged fishing kayak can easily tip the scales at over 100 pounds.
If you want to keep fishing solo without blowing out your back, you need a mechanical advantage. Enter the Thule Hullavator Pro, the lift-assist roof rack that has become the gold standard for heavy fishing kayak transport.
The \"Big Rig\" Reality Check
Let’s address the elephant in the room (or the driveway). Fishing kayaks have evolved into personal bass boats. They have frame seats, pedal drives, batteries, trolling motors, and Power-Poles.
Ten years ago, a kayak weighed 60 pounds. Today, a \"light\" fishing kayak is 85 pounds, and the big boys are pushing 120. For the solo angler, deadlifting this amount of weight over your head onto an SUV is not just difficult; it’s a recipe for a trip to the ER.
This weight creep has pushed many older anglers out of the sport or into trailering. But trailers have their own downsides—storage space, speed limits, and boat ramp fees. If you want to keep car-topping, you need the rack to come to you.
The Solution: Thule Hullavator Pro
The Thule Hullavator Pro 898 is a gas-assist lift system that solves the height problem. Instead of lifting your kayak six feet into the air, the Hullavator slides down the side of your vehicle, allowing you to load your boat at waist height.
Key Features for Anglers
- Waist-Level Loading: The cradle drops down 40 inches from the roof, putting the loading zone right in front of your chest.
- Gas-Assist Struts: The internal hydraulics handle up to 40 lbs of the kayak's weight during the lift. If your kayak weighs 80 lbs, you are only lifting 40.
- 8-Point Support: Variable padding grips the kayak securely, which is crucial for wider fishing hulls.
The Critical \"100lb\" Rule: Hull vs. Rigged Weight
Here is the most important part of this guide, and where many anglers get confused. The Thule Hullavator Pro has a load capacity of 75 lbs (35 kg).
You might be thinking: \"But my fishing kayak weighs 100 pounds! Is this useless for me?\"
Not necessarily. The \"100lb\" spec listed on your kayak's brochure is usually the Rigged Weight (with seat, drive, and gear). The Fitted Hull Weight is often significantly less.
To use the Hullavator safely with a heavy fishing kayak, you must follow the Strip-to-Ship protocol. You can reduce your load by 20–30 lbs just by stripping the deck before you load up.
How to Cut Weight Fast:
- Remove the Drive: A pedal drive unit weighs 15–20 lbs. Never transport the kayak with the drive installed.
- Pull the Seat: A lawn-chair style frame seat weighs 5–8 lbs. Put it in the trunk.
- Ditch the Battery: If you have a 10Ah lithium battery or a heavy SLA, take it out.
- Empty the Crate: Never lift a kayak with your tackle crate bungeed in the back.
By stripping these items, a 105lb Old Town Sportsman can often drop down to a manageable 75–80 lbs, putting you back in the safe zone for the Hullavator's assist struts.
Step-by-Step: The Solo Load Strategy
Once you have stripped your kayak down to its fighting weight, here is how to execute the perfect solo load.
1. Position and Prep
Park your vehicle on level ground. Release the safety handles on the Hullavator and pull the assembly out and down until it clicks into the loading position alongside your car.
2. The Partial Lift
Don't try to deadlift the whole kayak at once.
- Place the kayak parallel to the car, about 2 feet away.
- Lift the bow first and place it into the front cradle.
- Walk to the stern, lift it, and swing it into the rear cradle.
- Tip: This means you are never lifting more than 50% of the hull weight at any given moment.
3. Strap Before You Lift
This is crucial. Strap the kayak to the cradles while it is still at waist height. It is much easier to tighten straps and secure bow/stern lines when you are looking down at the boat rather than reaching up. The Hullavator has integrated strap guides—use them.
4. The Assist Lift
Grab the handle of the Hullavator. Disengage the release lever. Push upward. You will feel the gas struts kick in, taking about 40 lbs of the weight off your hands. Guide the kayak up and over the slide rails until it clicks into the roof position.
5. Lock and Go
Insert the safety pin into the assembly to lock it in place. Give the boat a firm shake to ensure the cradles are locked into the rail system. You are ready to roll.
Final Pro-Tips for the Solo Angler
- Watch Your Width: The Hullavator Pro fits kayaks up to 36 inches wide. If you have a massive barge like a Hobie Pro Angler 14, you might be too wide for the cradles.
- Rinse the Rails: If you fish in saltwater, rinse the Hullavator mechanisms with fresh water after every trip. The sliding parts are durable, but salt is relentless.
- Mind the Overhang: Because the Hullavator extends out to load, ensure you aren't parking too close to the truck next to you at the ramp, or you won't be able to lower the rack.
Investing in a lift-assist system isn't just about convenience; it's about independence. It ensures that you can hit the water whenever you want, without waiting for a buddy to help you lift your gear. Strip the weight, trust the struts, and keep fishing.
Leave a comment
This site is protected by hCaptcha and the hCaptcha Privacy Policy and Terms of Service apply.